In this in-depth tutorial, you will learn how to get the desired Twitter feed integrated with the VOGO Voice platform. The comprehensive instructions combined with highlighted screenshots will offer the required direction needed to follow with ease the task of removing the emoji from the tweets that are fetched using the REST API connector. The VOGO Voice twitter feed put to use in this tutorial serves as a resource to illustrate the retrieving of tweets by stripping emojis.
Prerequisites
- VOGO Voice account: https://account.vogovoice.com/
- Twitter username or ID
- Access rights to the Intents section under Settings
- Twitter Developer Account to access Twitter APIs
- Postman Account to test the Twitter API
Create a custom intent
Make a suitable intent to be invoked in order to execute a Twitter interaction mapped to it. The purpose of creating a custom intent is to integrate the desired Twitter feed to the VOGO Voice platform.
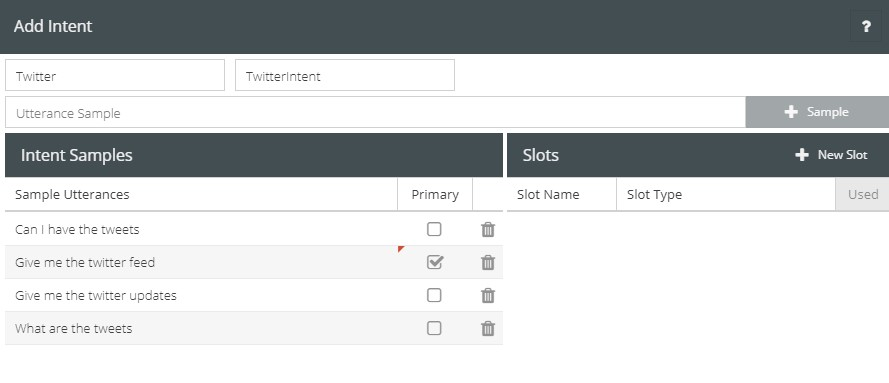
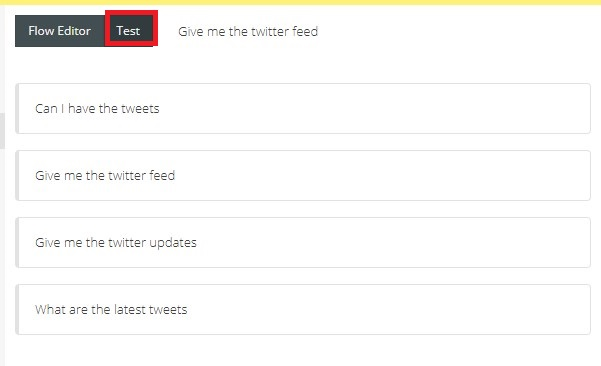
Create an intent titled ‘Twitter’ with suitable sample utterances mapped to it. The sample utterance for this intent would be: “Can I have the tweets”, “Give me the Twitter feed”, “Give me the twitter updates”, and “What are the tweets”
To learn about how to create a custom intent, visit Creating Intents
Steps to Configure the Twitter API
- Log in to your Twitter Developer Account, or create a developer account if you don’t have one. After logging in, visit https://developer.twitter.com/en/docs/twitter-api/tweets/search/introduction
- Next, scroll down to the bottom of the page and click on Run in Postman

3. Now click on the Run in Postman action button on the top right corner of the page as highlighted below, if the Postman application does not open automatically on your PC.

4. Select the suitable extension to run the application from the pop-up menu that appears, as shown below.
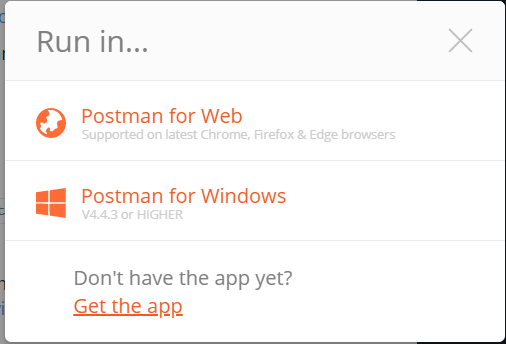
👍 Note: To proceed with this step, the user would need a Postman Account. In the absence of an account, the user can create one by clicking Postman for Web extension from the pop-up menu.
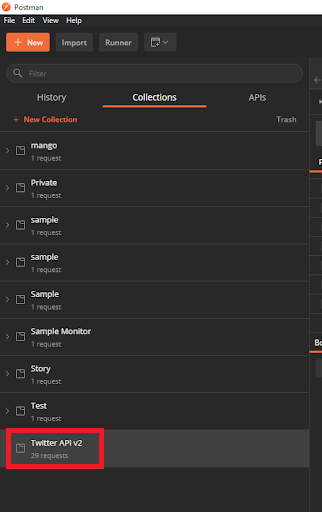
5. After creating the Postman Account, open the application either using Postman for Web or Postman for Windows. Then click on the Twitter API v2 under Collections in the Postman app.
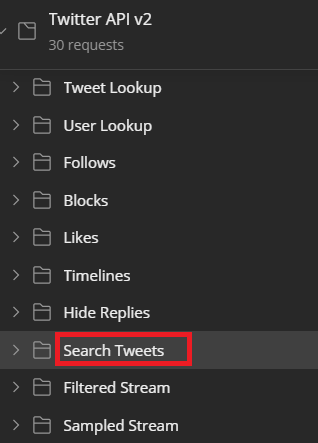
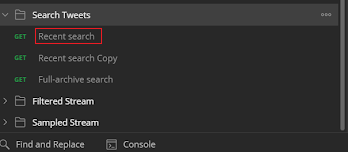
6. Next click on Search tweets from the list that appears under Twitter API v2
7. Now click on Recent Search that appears under Search Tweets.
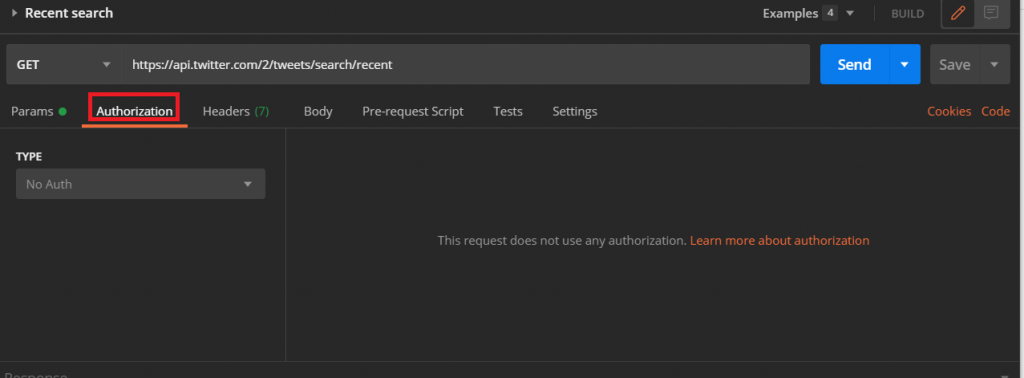
8. A new window will open up on Postman with an endpoint address. The open window is the extended right-hand section as highlighted below.

9. Next, navigate to Authorization and click on it.
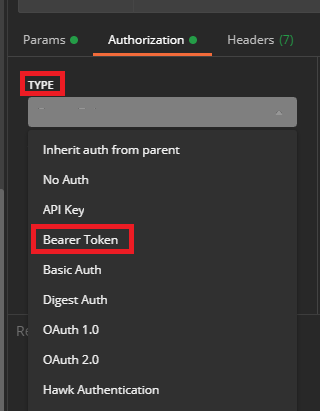
10. Now click on the drop-down menu titled TYPE. Then click on Bearer Token that appears within the drop-down menu.
11. An empty box will appear on the right-hand section against the field titled Token. Here, paste the Bearer Token generated from your Twitter Developer Account.
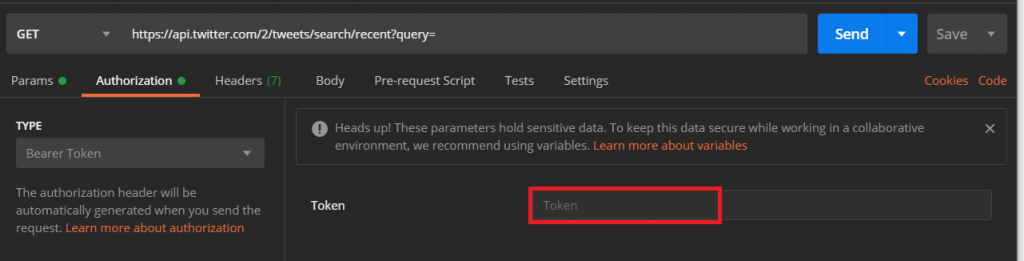
👍 Note: To generate the Bearer Token from your Twitter Developer Account follow the instructions under the section titled “How to generate from the developer portal” provided in the link below. https://developer.twitter.com/en/docs/authentication/oauth-2-0/bearer-tokens
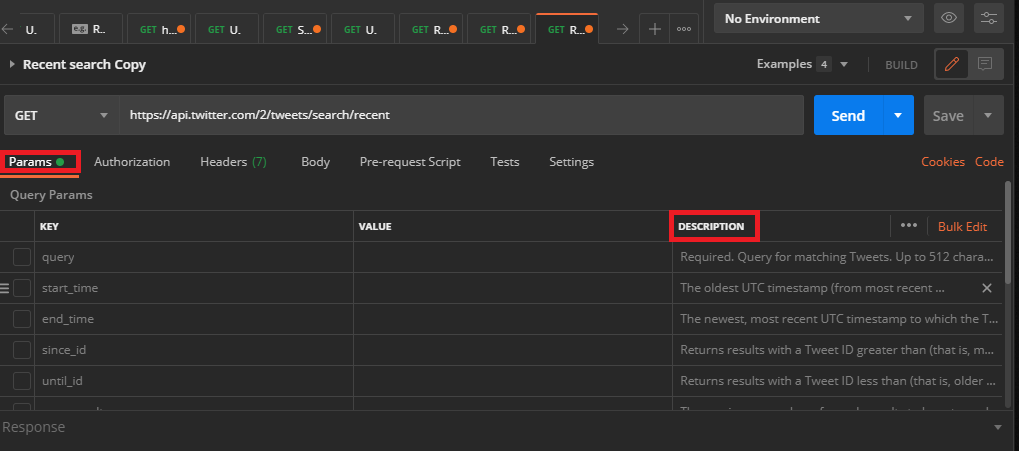
12. Now click on Params. Several fields will appear. Click on the DESCRIPTION given on the right side of each parameter to know about the VALUE corresponding to each KEY.
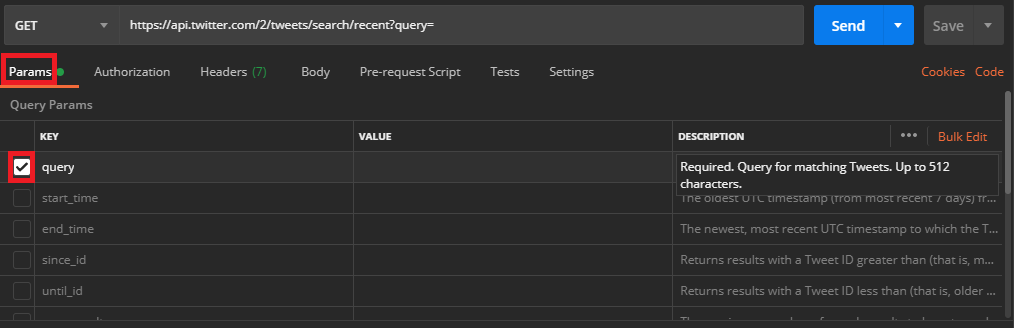
13. To enable the query key, check the checkbox against the KEY titled query. The purpose here is to query for matching tweets. To learn about the format in which the value needs to be input in the VALUE field, click on the description part made available on the right-hand side of each KEY. To filter data based on different parameters, refer to https://documenter.getpostman.com/view/9956214/T1LMiT5U#acd41db7-05bc-4359-be63-dd5249dfef32
14. To illustrate further, we are putting to use the VOGO Voice Twitter. To fulfill this step, pass the VogoVoice Twitter username on the VALUE field of query KEY. This is done to filter tweets of the VOGO Voice Twitter account. Make sure to give the ID or username of the Twitter page after deleting the @ symbol. It is mandatory to use from: before the Twitter page ID or Username under the VALUE field. Here, from:VogoVoice value is passed to the corresponding query KEY. For more information, click on https://developer.twitter.com/en/docs/twitter-api/tweets/search/quick-start/recent-search

15. Now check the checkbox beside tweet.fields KEY
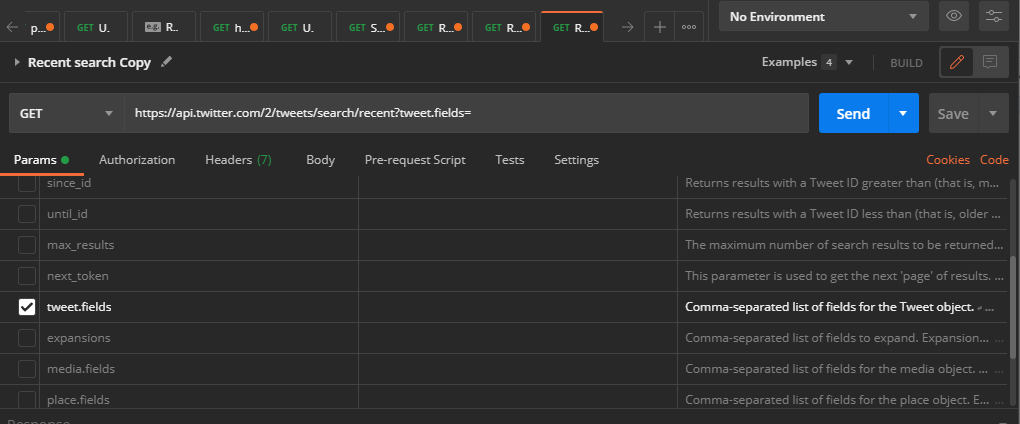
16. Next, to obtain the date on which the tweets were created, input created_at in the VALUE field corresponding to the tweet.fields KEY

17. If you need to filter more data refer to the links provided above. After adding the necessary params, click Send to get the output.
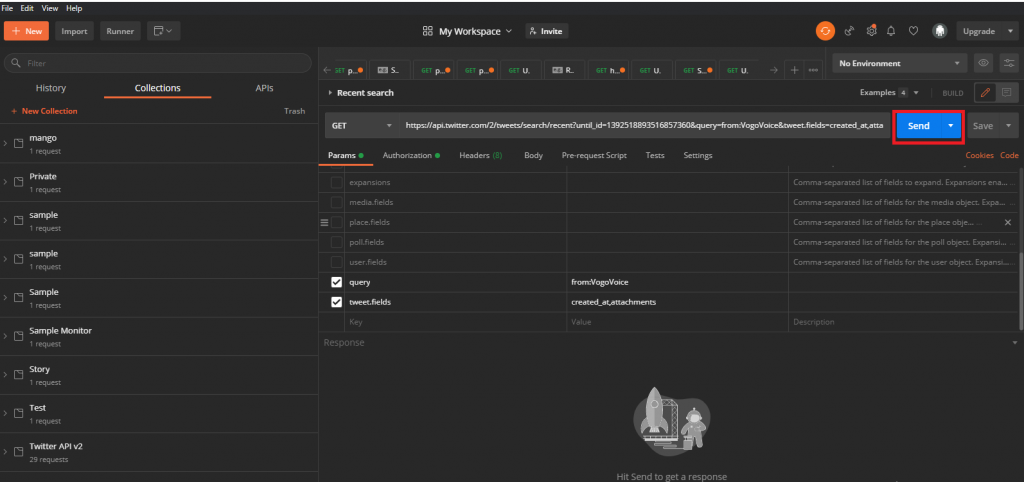
18. The link that appears in the GET field represents the endpoint address. It will be used in the later part of this tutorial for retrieving data from the Twitter API. This endpoint link is very important as it is an essential requirement to configure the REST API connector to retrieve the desired tweets.

👍 Note: Make sure to make use of the endpoint link that appears in the GET field only after enabling all the necessary params.
19. Once you have clicked on the Send button, the necessary data will be displayed under the section titled Body as shown below.
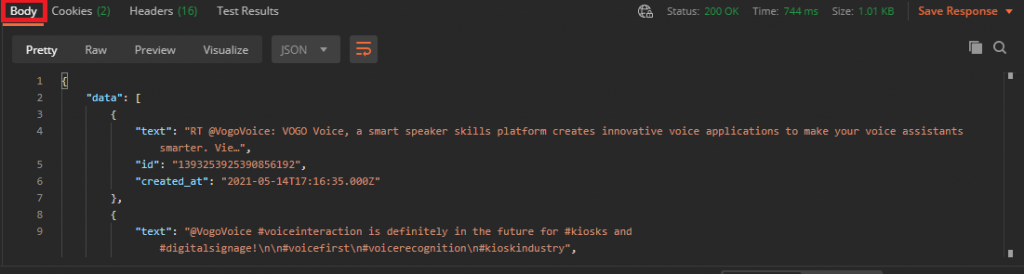
The Twitter API is now active. You can filter tweets and other data accordingly.
Integrating Twitter API into our platform
- Log into your VOGO Voice account to be directed to VOGO Voice Management Console (https://account.vogovoice.com)
- Navigate to Settings on the top right-hand corner of the Dashboard and select Integration from the list of tabs displayed. Settings > Integration
- Click on the Add Button on the top left-hand corner of the screen.

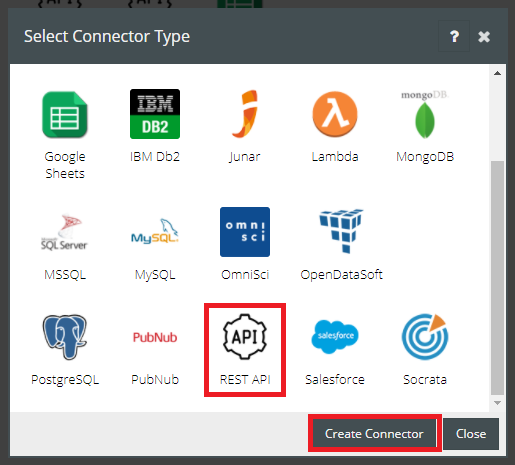
4. In the Select Account Type window, select REST API from the list of connectors and click Create Connector.
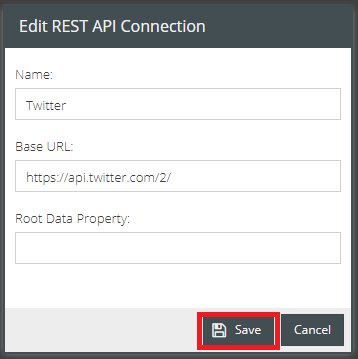
5. Populate the required fields in the Edit REST API Connection window, namely Name and Base URL. The input for the Base URL will be https://api.twitter.com/2/. After filling in all necessary fields click Save.
Now Twitter API is successfully integrated with the VOGO Voice platform.
Interaction flow for fetching tweets using Twitter API
The purpose of this interaction flow is to fetch tweets using Twitter API and strip Emojis from the tweets.
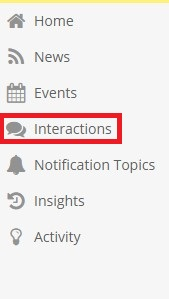
- Navigate to Interactions on the vertical bar displayed on the left-hand side of the Dashboard.
Dashboard > Interactions
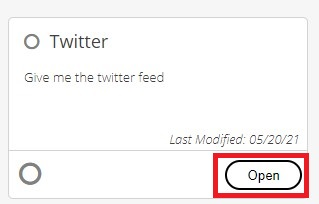
2. Click on the Open button of the Twitter Intent that was created at the start of the tutorial.
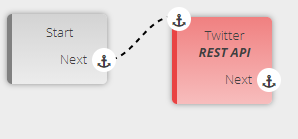
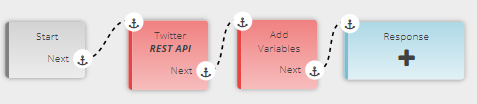
3. Drag Twitter REST API from the components list on the left-hand side and drop it onto the flow canvas, or else right-click on the anchor symbol of the Start component and click on Twitter REST API to select from the list that opens up.
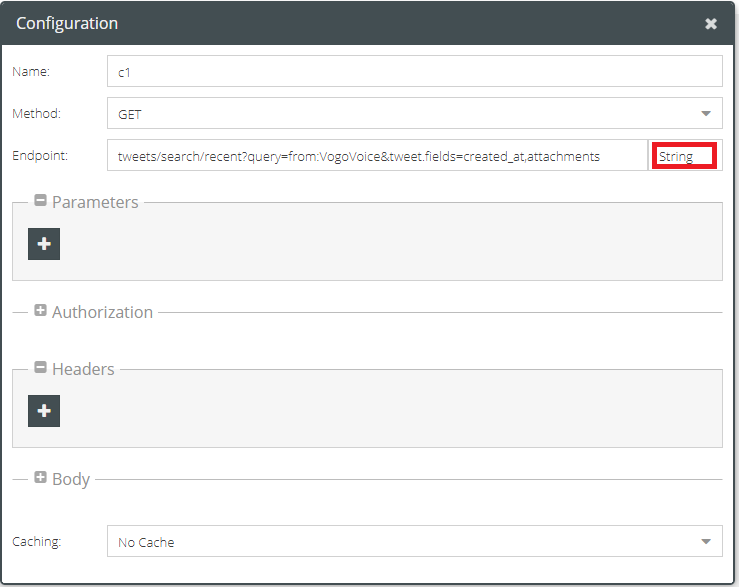
4. Now mouse over the top right corner of the Twitter REST API. Click on the pencil icon that appears. This will open up its configuration window.
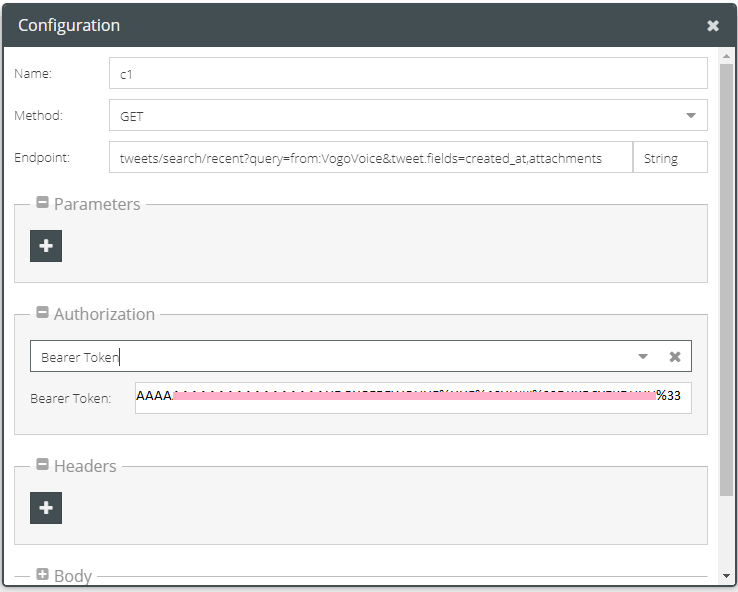
5. Fill the Endpoint field alone as the Name and Method fields will get auto populated.To input the Endpoint use the complete link that appears in the GET field in Step 18 of this tutorial. From this link make sure to remove the Base URL part that was given at the time of setting up the REST API. Paste the remaining link here. Now choose the Endpoint type as String.
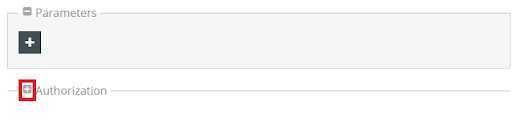
6. Now click on the plus button of Authorization.
7. Then click on the drop down menu to select the Bearer Token.
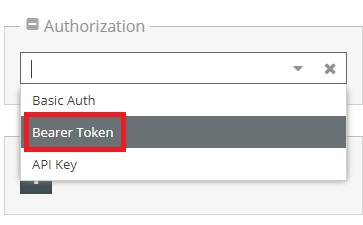
8. A field to paste the Bearer Token will be displayed.
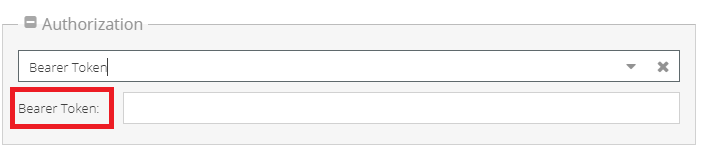
9. Now, paste the Bearer Token in the related field. This is the same Bearer Token that was made use of in Step 11 of this tutorial. Then click the Save button.
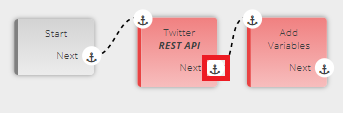
10. Next drag and drop an Add Variables component onto the flow canvas and connect it to the anchor symbol of Next on the REST API.
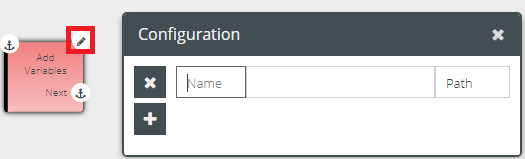
11. Now mouse over the top right corner of the Add Variables component. Click on the pencil icon that appears. This will open up its configuration window.
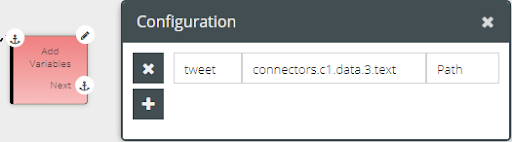
12. Configure the Add Variables component by adding the key-value pair. Fill in the Name field as Tweet. Next input connectors.c1.data.3 to retrieve the fourth element of array data. Choose data type as Path. Now to fetch the text field from the fourth element of array data ensure the input just added is completed as connectors.c1.data.3.text. In this case, fetching the fourth element is crucial because that’s the tweet that contains the emoji.
👍 Note: Make sure to call out the tweet that contains emoji when implementing the tutorial.
13. Now, drag and drop a Response component onto the flow canvas and connect it to the anchor symbol of Next on the Add Variables component.
14. Roll the mouse over the Response component to see the voice, computer, and camera icon on the top right-hand side of the component. Clicking on the Voice icon opens a Speak pop-up window with a field titled Say wherein you need to paste {{var.tweet}} to retrieve the tweet with emoji.
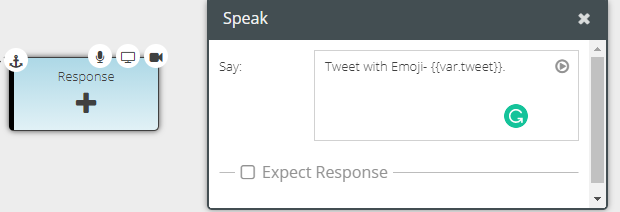
15. Now to remove the emoji from the tweets use the inline template functionality i.e. {{stripEmoji var.tweet}}. Here we are making use of the stripEmoji function. Adding stripEmoji before the {{var.tweet}} will remove the emoji from the text.

Testing and Validation
- Click on the Test button next to the Flow Editor button on the interaction builder platform.
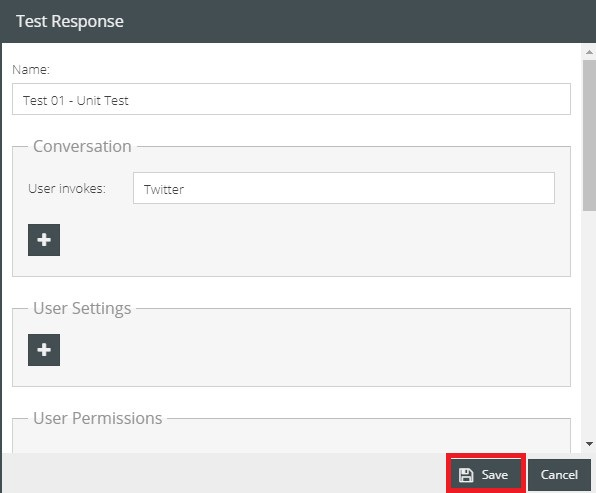
2. In the Tests pop-up window that appears click the + button on its top right-hand corner.

3. Fill in the Name field of the Test Response window that shows up and click Save.
4. To validate the Test Response, click on the lightning symbol on the left-hand side of the test case.

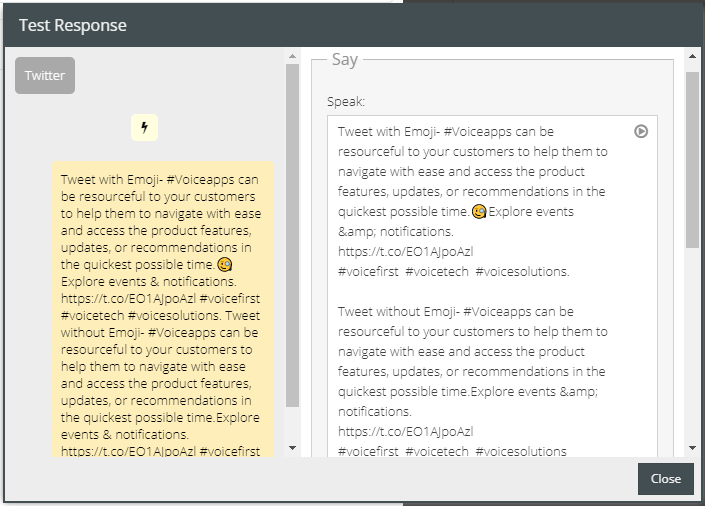
5. On the resultant Test Response window, the blue chat bubble will present the previously input message within the Response component. The single lightning bolt symbol in yellow represents the REST API connector instance. Click on the blue bubble.
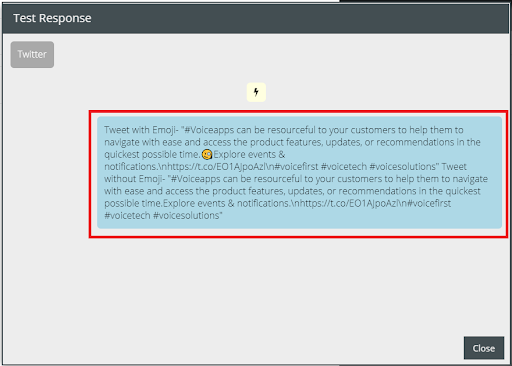
6. The clicking of the blue bubble will open the Speak response part showing tweets both with and without emoji.
To know more about testing an interaction refer https://university.vogovoice.com/kb/testings/
Congratulations! You have successfully learned how to integrate the Twitter feed to the VOGO Voice Platform and remove the emoji from the tweets using the Twitter connector.
👍 Note: To test the functioning of the interactions on your device you have to deploy the custom skill to facilitate the skill with the new edits. To accomplish this, click on the Deploy button seen at the bottom of the Skill Settings pop-up window.
To know how to deploy a custom skill visit https://university.vogovoice.com/kb/deploying-a-skill/
To learn about REST API connector, click here.