Prior to releasing the skill, Google Assistant requires certain mandatory metadata details to be furnished. Given below are those significant steps to be followed by the user to provide the requisite details.
- Firstly, visit the VOGO Voice application i.e. https://development.vogovoice.com/
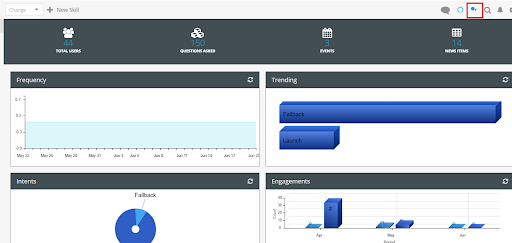
- Next, click on the Google Assistant logo seen on the top right-hand corner of the screen as highlighted below. Clicking on this logo redirects the user to the Google Settings screen.

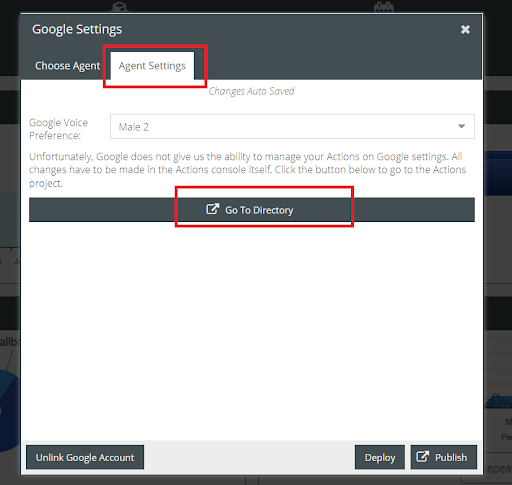
3. On the Google Settings screen, navigate to the Agent Settings tab after which click on the Go to Directory tab positioned in the middle of the same page as shown below.

4. For a quick deployment of the skill, the user can click on the Deploy tab on the topmost horizontal toolbar next to the Test tab on the Actions Console page. This is the easier alternative to deploying instead of visiting the Deploy page on the app.

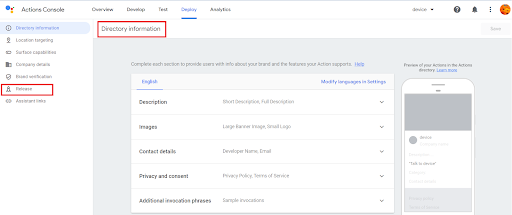
5. Next, fill in all the sections listed below the Directory Information page as shown in the screenshot below.

6. Once all the required fields under Directory Information are populated, the Save button on the top right corner will become automatically enabled. Now, click on that button to save the input metadata details.

Releasing a skill
Once the development, testing, and metadata are complete, the Action (skill) is ready to be released to the Google platform for the public to access via Google Assistant. Listed below are the simple steps to follow to make your Google Action live.
7. Visit the VOGO Voice application i.e. https://development.vogovoice.com/
8. Next, click on the Google Assistant logo seen on the top right-hand corner of the screen as highlighted below.
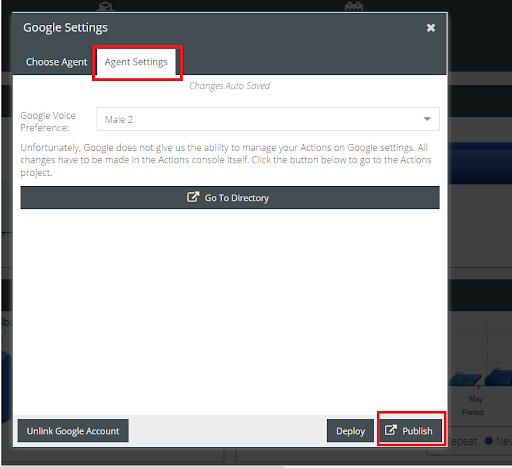
9. On the Google Settings window that appears, select the Agent Settings tab and click the Publish button at the bottom right-hand corner of the window.
10. Clicking the Publish button routes the user to the Release section of the Action Console.
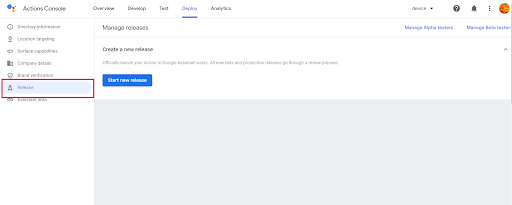
Note: An alternate way to navigate to the Release section is to click on the Go to Directory button present in the Agent Settings tab as seen in the screenshot below. This will take the user to the Directory Information page on the Action Console. Then click the Release tab on the vertical menu seen on the left side of this page.
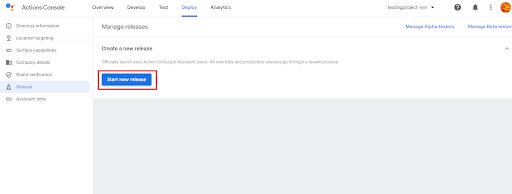
11. On the Release section that opens up, click the Start new release button.
12. Subsequently, follow the steps verbatim on how to release your Action as in the document given below
https://developers.google.com/assistant/console/releases